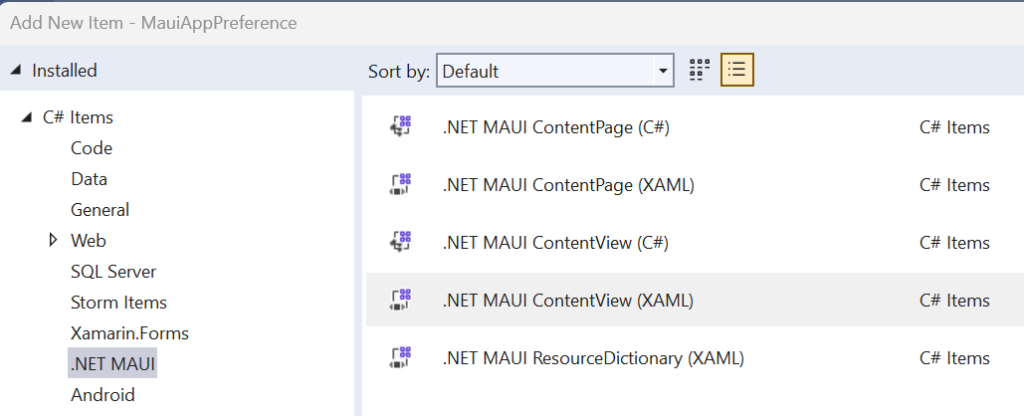
Let’s say you want a custom control in .NET MAUI where the look and feel can be completely described in XAML and doesn’t require any platform specific rendering. You can easily do this using a ContentView. If you Add New Item, you can choose a .NET MAUI ContentView (XAML).
And this will generate a XAML file and a C# code behind file. The XAML looks like this:
<?xml version="1.0" encoding="utf-8" ?>
<ContentView xmlns="http://schemas.microsoft.com/dotnet/2021/maui"
             xmlns:x="http://schemas.microsoft.com/winfx/2009/xaml"
             x:Class="TemplatedControlSample.NewContent1">
    <VerticalStackLayout>
        <Label
            Text="Welcome to .NET MAUI!"
            VerticalOptions="Center"
            HorizontalOptions="Center" />
    </VerticalStackLayout>
</ContentView>
Now you can modify this to your heart’s content, using XAML to describe your UI. Where things get a little tricky is if you want to provide a reusable container for other content. For example, you may want to provide a custom border for content that is beyond what a Frame or similar container can do. This can be done using a ContentPresenter in your XAML which tells MAUI where the content is supposed to go. There is a bit of a wrinkle to this though, a ContentPresenter can only be used in a control template. So first let’s refactor the above XAML to use a control template.
<?xml version="1.0" encoding="utf-8" ?>
<ContentView xmlns="http://schemas.microsoft.com/dotnet/2021/maui"
             xmlns:x="http://schemas.microsoft.com/winfx/2009/xaml"
             x:Class="MauiAppPreference.NewContent1">
    <ContentView.ControlTemplate>
        <ControlTemplate>
            <VerticalStackLayout>
                <Label
                    Text="Welcome to .NET MAUI!"
                    VerticalOptions="Center"
                    HorizontalOptions="Center" />
            </VerticalStackLayout>
        </ControlTemplate>
    </ContentView.ControlTemplate>
</ContentView>
This should display the same as what we had before, but now we are using a control template to describe the UI. Back from the early days of XAML, in WPF, all controls were “lookless” and you could provide your own control template for any control, making a progress bar look like a speedometer, or anything else you could imagine. Now we can add our ContentPresenter. Let’s replace the Label with a ContentPresenter.
<?xml version="1.0" encoding="utf-8" ?>
<ContentView xmlns="http://schemas.microsoft.com/dotnet/2021/maui"
             xmlns:x="http://schemas.microsoft.com/winfx/2009/xaml"
             x:Class="MauiAppPreference.NewContent1">
    <ContentView.ControlTemplate>
        <ControlTemplate>
            <VerticalStackLayout>
                <ContentPresenter />
            </VerticalStackLayout>
        </ControlTemplate>
    </ContentView.ControlTemplate>
</ContentView>
Now to use this, we can do the following, passing content into the control:
<local:NewContent1>
    <Label
        Text="Hello, World!" x:Name="hello"
        SemanticProperties.HeadingLevel="Level1"
        FontSize="32"
        HorizontalOptions="Center" />
</local:NewContent1>
The ContentPresenter is replaced with whatever is specified as the content for our custom ContentView, in this case a Label. Your content can be as complex as you want, and your control template can also be as complex as you want, as long as you specify the ContentPresenter in the control template where you want the content to be inserted.
Along with content, you may also have some other bindable properties that you want the parent view to be able to set. Things like colors, header text, border thickness, etc. Since we are using a control template, we can’t do a simple binding to the bindable property on our custom content view. You have at least two options here on how you want to implement this.
Firstly, you can add a property changed handler to your bindable property, and do whatever you want in there, setting properties on elements in your control template. You can access these elements using the ContentView GetTemplateChild method call passing in the name of the control you want to set the properties on. This is the most flexible option since you have complete control, and you can do data transformations in code, etc.
Another option is to use the TemplateBinding markup extension. This is most useful if you’re just doing a straight pass through of a bindable property on the custom ContentView and want to apply it to a property in your control template.
GetTemplateChild and TemplateBinding are outside of the scope of what I wanted to cover in detail with this post, but here is a more in depth explanation of these topics as well as templated controls in general: